Sunday, 2 October 2011

Drive shafts & rear brake work

With the October Indian Summer hitting hard this weekend I thought I'd lock myself in the garage and crack on with the build. Saturday started with a messy job, I had to clean the drive shafts ready for painting, joy! In actual fact the back of the rear drums and the drive shafts cleaned up really easily, so out came the paint and they were then done for the day. The engine below looks much cleaner than it really is!
Next task was to finish mounting the master cylinder so I could start connecting up the brake lines. The master cylinder is now in along with the reservoir, I've connected up the rear brake line but it looks a bit messy. May revisit once the other brake lines are in, as a collective they may look good.

Following this task I set about fixing in the passenger foot well, clamped in with a bit of sikaflex I left them to stick overnight. On Sunday I then stuck in the rivets and removed the classy protective film. It's amazing the difference a couple of panels can make to the overall appearance.

Final task on Saturday was to fit the handbrake & cable, this was a relatively easy job and is another tick on the overall plan. I was a bit disappointed my original Sierra handbrake didn't fit the mounts but £60 later for the full GBS kit I was well on my way. It fitted 1st time with no issues, another well built part from GBS.
That was it for Saturday, a good 4 hours in the heat but it felt like good progress. Sunday came about and I was keen to get the painted drive shafts in, I had been advised that a bit of grease would be required so I gloved up ready! Grease on, drums lined up, I was quite surprised that both drive shafts reattached to the diff quite easily. Bolts went in and the job was done, took about an hour but I thought I was going to have more problems. The end result looks great..............
You can also just about see the rear end of the handbrake cable.

After riveting the foot well in place (as above) I then start playing around with some of the scuttle panels, wanted to get a feel of how they will all fit together. It's really a job for another day but its good to plan ahead. Also looked at the steering rack, need to speak to GBS for advice of this as I don't think the Sierra steering rack is quite right, don't seem to fit on the mounts. I decided that I'll give them a ring, also need to ask them about the deceleration valve as used on the Sierra.

To ensure I finished on a high I decided to test fit one of the side panels, fits like a glove, the clamps are there just to make sure it doesn't fall and to help it take some of the shape of the car. Can't really properly fit these until the front brake line p-clips have been drilled but it'll give me an idea of where to aim!

Roll on next weekend when the main job will be the fuel tank, sender and pipes.

Sunday, 25 September 2011

Odds & Sods

With my brother visiting I thought it would be a good opportunity to make so decent progress and also finish off some 2 person jobs.

Whilst I finalised the driver side front tunnel panel Jordan set to work on removing the driveshafts from the old Sierra subframe. These are now ready to be cleaned and painted before fitting in a couple of weeks. I had a few moments spare so clamped in the remaining footwell panels. This photo was taken later in the day.


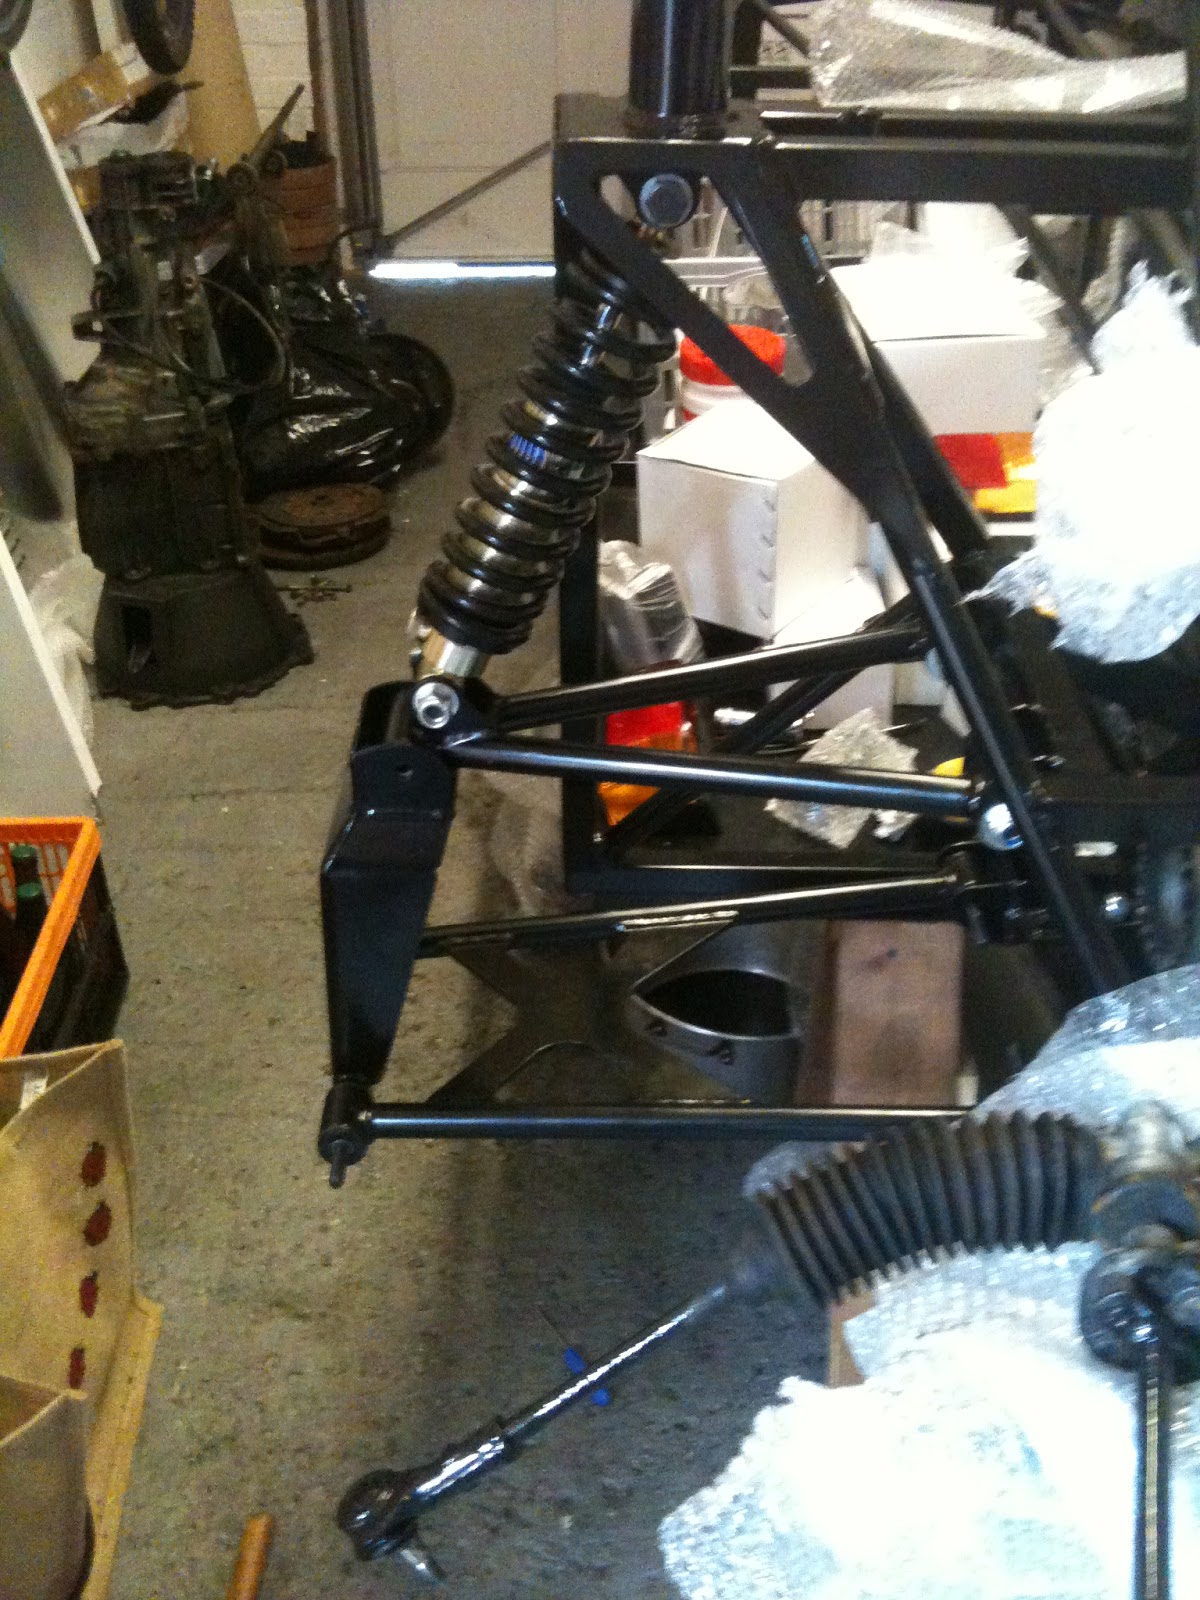
The next task was to rebuild the suspension wishbones as the supplied bolts were too big. These look great rebuilt with nice fresh looking bolts. The feeling of another completed job was good and spurred us onto the next task of the day; the upper steering column. We stuck the stalks on for effect!


Final job of the day was to look at laying down the rear brake lines. I could only start this task as without my master cylinder I couldn't finalise the task. Front to rear line is screwed in until such time that rivets are required.


The back end is fitted but only finger tight.


All seems to be going ok on the build - so far!

Sunday, 18 September 2011

Panels & Pedals

My aim this weekend was to fit the tunnel panel on the driver's side and make a start on the pedals. All went well ahead of the weekend, I managed to find the time to do a trial fit and drill the tunnel panel so all I needed to do on Saturday was lay down some adhesive and start riveting. I tell you, I'm glad I only went with 4" gaps otherwise I would have seriously started considering the need for a automatic rivet gun! All went well, the panel was cut nicely by GBS so it literally popped straight in.


My next job was to assemble the pedal bracket, the joy of more bushes. After studying a few blogs I think I've got it right!


Looks like I will need the shorten the metal insert for the bush but I thought I'd leave this for another day. You will notice that currently I only have the clutch & brake medals in, this is how it's meant to look. I believe the accelerator sits on a different bolt, I'll give it a go and see!

All in all a good weekend and more progress made. I'm keeping up with my schedule and things are taking shape, steadily.

Sunday, 11 September 2011

Differential, Rear panel & Wishbones

My weekend started with a Friday trip up to Hereford to visit the Raw factory with Mike. He's after his next build, a Raw Striker (http://rawstrikerbuild.blogspot.com/). It was a good day and I actually picked up a few ideas for the Zero build. Looks like my build will include black ETB instruments and possibly Fox gunmetal alloys as currently fitted to the Striker demo car.

Saturday came about and I was eager to continue on my build and put in a serious amount of time. The first job was to finish fitting the differential, apart from a dose of Loctite 243 this is now fitted & complete. It was a bit of a struggle, 2 of the bolts didn't line up and after a bit of a fight with the car I got it bolted in. Not sure if my troubles were linked to the powder coated chassis or just that the holes were slightly out of line with my diff.

Following on from the differential I wanted to have a go at the rear wishbones. I thought these would look good installed and show some real tangible progress. Greedy really! So I got stuck in trying to fit the wishbone bushes. Copper Ease made my life so much easier and after a couple of hours I had the all of the bushes complete. Then it was time to build the wishbones and fit the Gaz shocks.


The driver's side hasn't gone in perfectly but I will try refitting this during the coming week or so. The passenger side has fitted perfectly, my only build issue is that the supplied bolts seem a little long! These will be replaced before I attempt to tighten up for good. Trial fitting took the rest of Saturday and a couple of hours on Sunday. It was then time to finished up and settle down for the Monza GP.


That wasn't it for the weekend, I just couldn't wait to fit the rear back panel. So I put the panel in for a test fit, perfect fit (thank you GBS!), so it was time to mark up for riveting. This done I then enlisted Lydia's help to lay down some adhesive and refit the panel without ending up with Sikaflex 221 all over the chassis! End result, the panel is clamped in ready to be riveted during the week.

Sunday, 4 September 2011

Day one of many.............

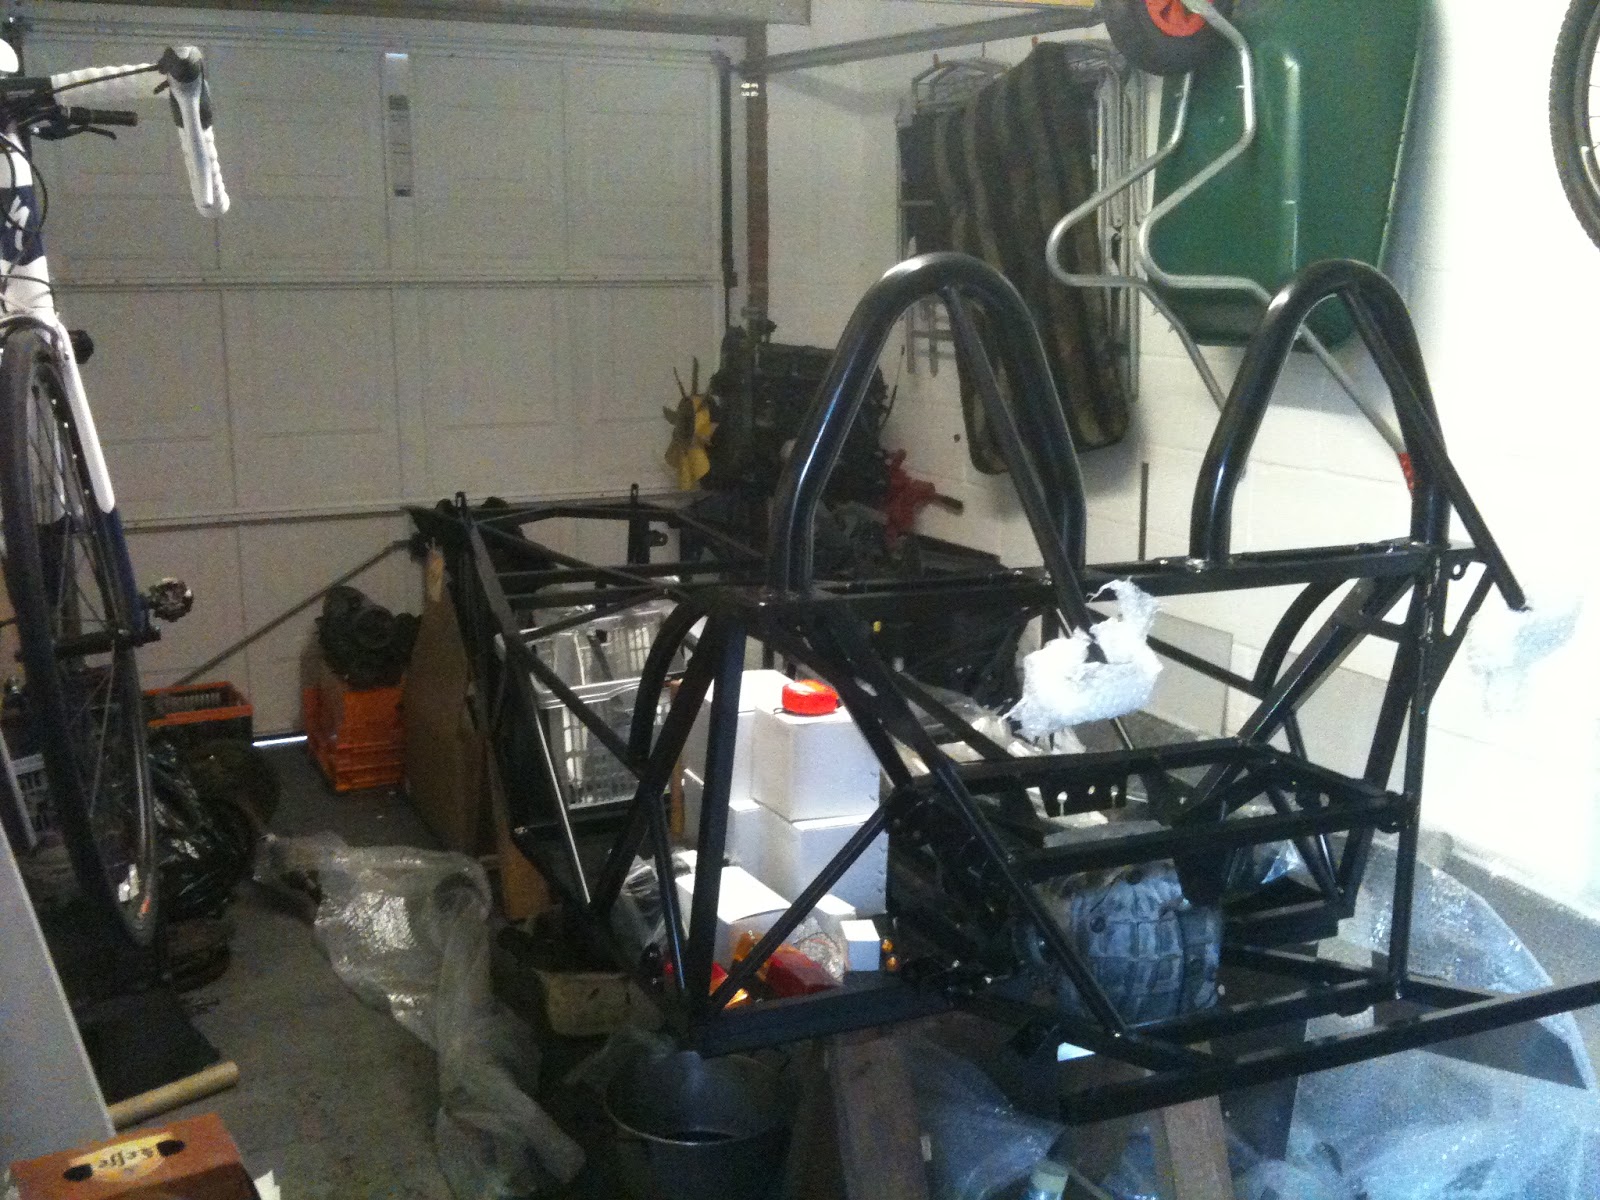
Day one, thought it was best that I cleared the parts away and make the garage a little more accessible. Boring task but it was good to work out all the parts and start thinking about the build.
Also managed to make a start on the actual build, got the differential 2/3 fitted. I think with a little more time I should have the 2 remaining bolt secured. Thank you to Lydia for helping push the bolts in as I was supporting the diff, had forgotten quite how heavy that it was!


Only trouble I have now is working out what I need to do next....................

Collection Day!

Collection day has finally arrived and to say I was a little bit excited was an understatement! The day started early, 6am for a trip up to Stafford to drop off my brother new house bits then across to Newark. On arrival I had a quick look round the workshop, nice to see so many cars in progress but one caught my eye.
If mine looks at tidy as this then I'll be very happy. After the quick workshop tour we had a check that all the parts were there and then got round to loading.  Hadn't realised there were quite so many parts and we filled the van.

Wasn't too sure how to fit it all in the garage, the first attempt was a mess! Anyway it was too late in the day and to be fair I just wanted it all out the van!
Thank you to Jordan for all the help with collecting the kit, you might have earned a ride in the car once its finished!

First job of the build, tidy the garage.

Wednesday, 17 August 2011

Goodbye Sierra

Only a short post...............
The Sierra has gone, death by crusher apparently.  Auto Wheelers Recovery came to collect the chassis and off it went.

Next step is a mass cleaning project - if anyone wants to help! I've got painting to do after that, all volunteers are welcome.

My brother has built me some great stands for the new zero chassis, if they break I guess he'll owe me a new chassis! Just got to make sure the garage is ready to take the chassis and the cleaning operation doesn't get in the way.

Hopefully only 2-3 weeks until collection :)